
Before selling your Mac, it’s always a good idea to wipe its startup disk clean and then erase your computer and reinstall macOS. And should your computer exhibit issues preventing it from starting up properly, reinstalling macOS will bring it to perfect working order.
Reinstalling macOS is a piece of cake provided you have created a USB install disk for El Capitan to begin with. As you may have guessed, not many people take that extra step.
In helping take the pain out of reinstalling macOS, Apple has included so-called Recovery Mode in macOS. Invoked at boot time, Recovery Mode helps you check your connected disks for errors, get help online and reinstall macOS.
This tutorial covers entering Recovery Mode and taking advantage of it to erase, install or reinstall the latest version of macOS that was previously found on your Mac.
The step-by-step instructions provided below will restore your computer to factory settings.
Before reinstalling the factory-preloaded version of macOS, you can decide to optionally erase your startup disk. Before proceeding, make sure you have backed up your essential files and documents to an external drive, a USB thumb drive or Time Machine.
How to erase, install or reinstall macOS in Recovery Mode
1) In the Apple menu choose Restart, or power on your Mac.
2) Hold down the Command (⌘) – R combination immediately upon hearing the startup chime. Hold these keys pressed until the Apple logo appears.

If you have a Mac notebook, press the keys on its built-in keyboard because the Recovery Mode keystroke may not necessarily register on external or wireless keyboards.
Tip: To reinstall macOS without deleting your files and settings intact, jump to step 7.
“Generally you don’t need to erase your startup disk to reinstall macOS,” explains Apple. “The macOS Installer is designed to allow you to perform an install in place over the same version or earlier versions of macOS.”
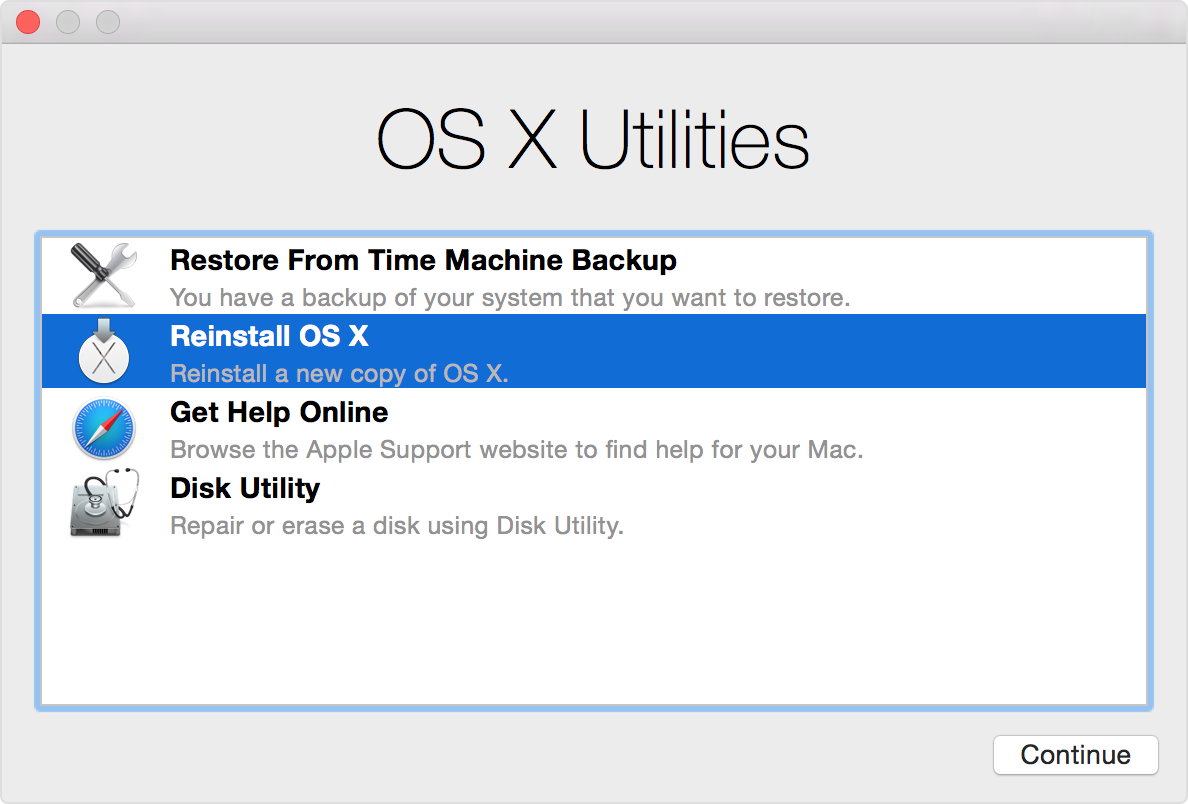
3) Select Disk Utility and click Continue.
4) Select the intended volume name from the left side and click the Erase tab.
Tip: To see additional disks, click the button Show All Drives.
5) In the Format pop-up menu, choose Mac OS Extended (Journaled), type a new name for your disk and click Erase. This will erase all the information from the disk, including your personal data.
Tip: Click Security Options to select options for securely erasing the disk.
6) After the disk has been erased, select Disk Utility → Quit Disk Utility.
7) Now choose Reinstall OS X and click Continue.
8) In the pane where you select a disk, select your newly formatted partition and follow the onscreen instructions. You may be prompted to authorize your Mac with an Apple ID.
Ensure your Mac is connected to the Internet via Wi-Fi (DHCP mode only) or Ethernet. If you have a Mac notebook, plug it into the power adapter.
RELATED: How to create USB install disk for OS X El Capitan
Requirements for reinstalling macOS in Recovery Mode
If Recovery Mode is used to install macOS, your Wi-Fi or Ethernet network must use DHCP (only WPA/WPA2 Wi-Fi authentication is supported in Recovery Mode).
You cannot reinstall macOS in Recovery Mode if your Mac is connected to a Wi-Fi or Ethernet network that uses the following authentication methods:
- WEP
- WPA-Enterprise
- Certificate-based authentication / 802.1x
- Proxies (where specific proxy servers must be configured in network preferences)
- Captive Wi-Fi networks (where you click an “Agree” button to access the Internet)
- PPPoE (where there is no router handling the PPPoE connection)
If your Internet connection has requirements or settings that are not supported by macOS Recovery, try changing the settings on your router to a supported configuration for the duration of the macOS installation process.
RELATED: How to repair disk permissions on your Mac
Recovery Mode unavailable? Use Internet Recovery
Recovery Mode mounts a recovery system image with the recovery tools from a hidden recovery partition on your startup disk. If this partition, which also holds an image of the macOS installer, becomes damaged, you won’t be able to enter Recovery Mode.
Thankfully, 2012 or newer Macs with OS X Lion or later can be booted directly from Apple’s servers. This is known as Internet Recovery Mode.
Internet Recovery basically downloads a recovery system image from Apple’s servers, and then starts up your Mac from it. It’s your only option in case you cannot enter the normal Recovery Mode or your Mac’s startup disk has become corrupted, damaged or replaced.
RELATED: How to start up your Mac in Internet Recovery Mode
It’s important to keep in mind that Internet Recovery Mode lets you install a version of macOS that came preloaded on your Mac at the time of purchase, not the most recent version that you may have upgraded to through the Mac App Store.
To enter Internet Recovery, restart your Mac and hold down the Command (⌘) – Option (⌥) – R after hearing the startup chime. You will be asked to connect to a Wi-Fi network if your Mac isn’t already connected to the Internet via Ethernet.
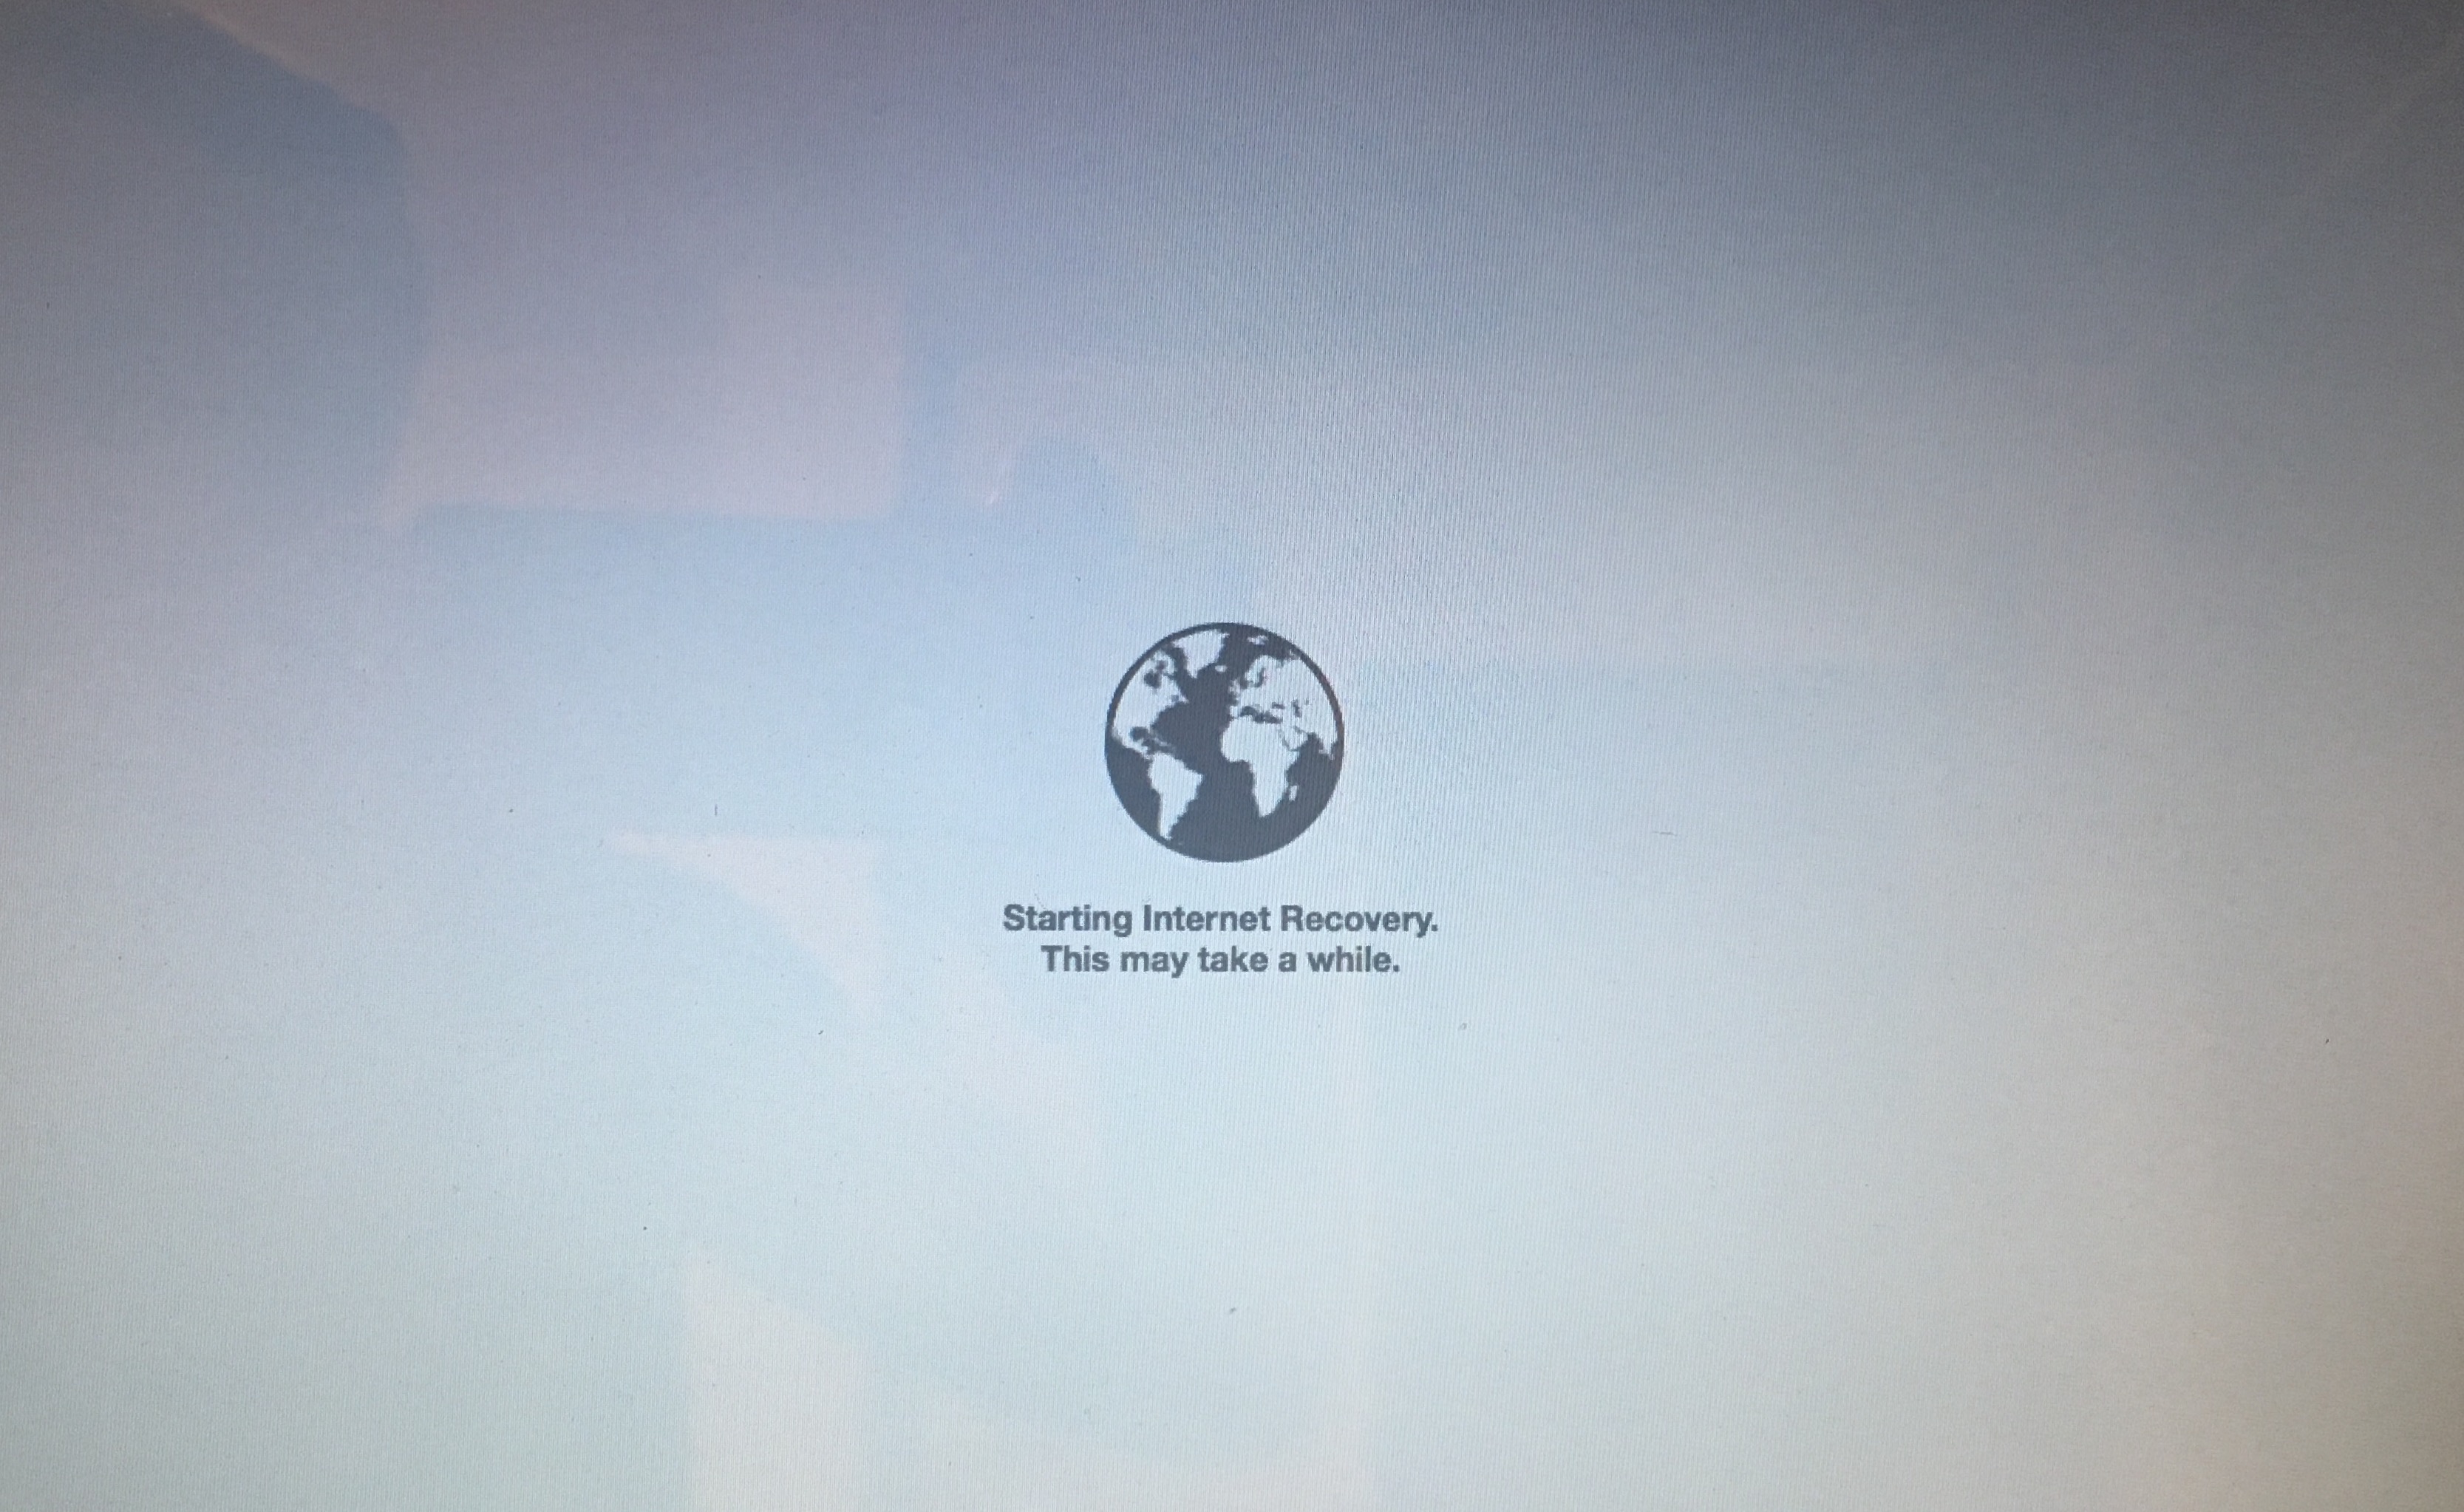
Depending on your Internet connection, booting into Internet Recovery Mode may take a while. After reinstalling macOS in Internet Recovery Mode, use the Mac App Store’s Updates tab to upgrade your operating system to the most recent macOS version available.
Some older Macs with OS X Snow Leopard may be able to use Internet Recovery Mode after installing OS X Lion or later, and a firmware update.
Things you can do in Recovery Mode
Recovery Mode and Internet Recovery Mode both provide the same recovery tools which permit you to perform the following maintenance tasks on your Mac:
- Scan, verify and repair connected drives with Disk Utility
- Erase your computer and install or reinstall OS X that was factory-preloaded
- Restore your Mac from a Time Machine backup
- Check your Internet connection or get help online using Safari
If your Mac’s startup volume and its recovery partition are damaged or corrupted, the computer will automatically enter Internet Recovery Mode when powered on.
Related tutorials
Check out these resources that cover a myriad of ways you can start up your Mac:
- How to restore Mac from Time Machine Backup in Recovery Mode
- How to browse the web with Safari in Recovery Mode
- How to erase, install or reinstall OS X in Recovery Mode
- How to repair Mac disk errors in Recovery Mode
- How to start up Mac in Recovery Mode
- How to start up Mac in Internet Recovery Mode
- How to start up Mac in Safe Mode
- How to start up Mac in Verbose Mode
- How to start up Mac in Target Disk Mode
For even more how-tos, browse our complete archive of Mac tutorials.
Need help? Ask iDB!
Not sure how to do certain things on your Apple device? Let us know at help@iDownloadBlog.com and our future tutorials might cover your specific problem and provide a solution.
Submit your how-to suggestions at tips@iDownloadBlog.com.