In this tutorial, we show you how to type raised or lowered characters on Mac.
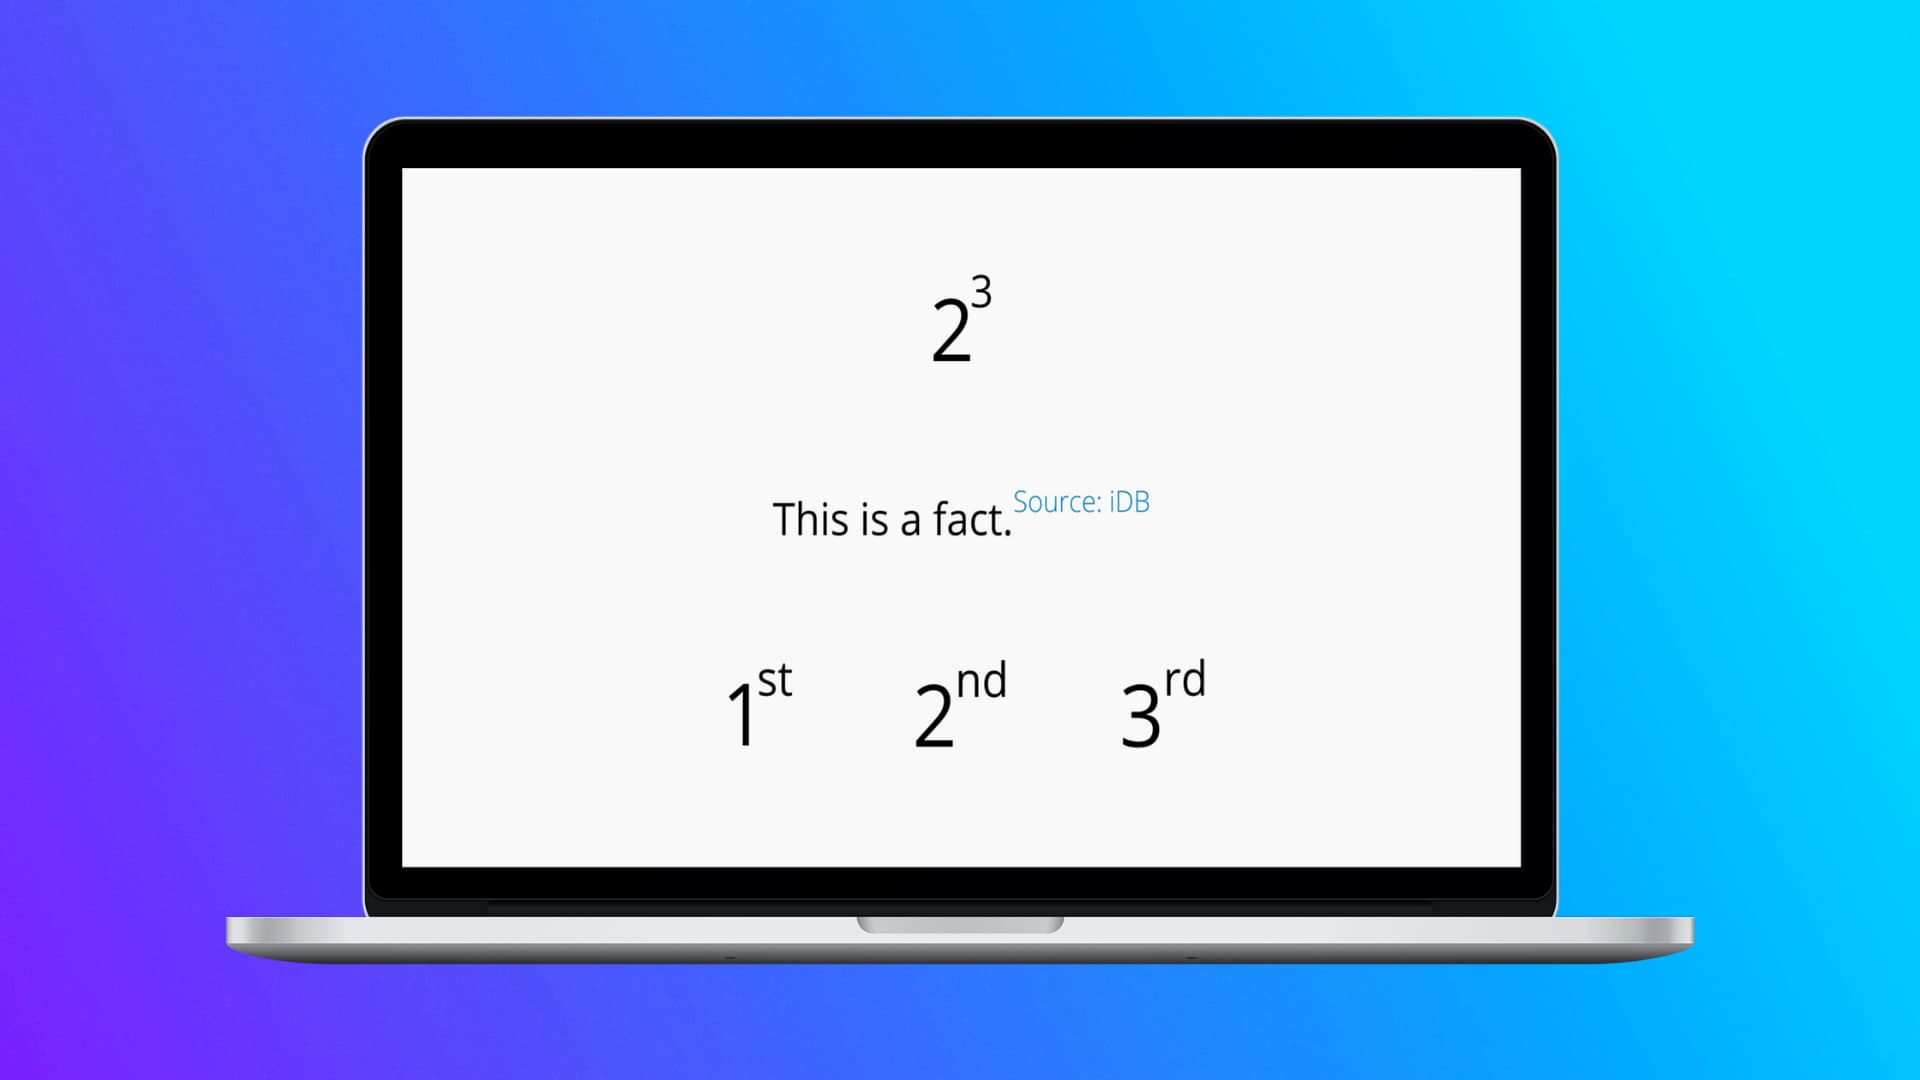
Superscript means written or printed above the line, and subscript means written or printed below the line.
While writing mathematical formulas (like exponent – 23), numerical suffixes (like 1st, 2nd, 3rd), copyright and trademark symbols, and so on, you may need to raise or lower some special characters or text.
Sometimes you can also use these to give a reference (like Wikipedia does – Text [1]).
In the Pages app
Pages is Apple’s Microsoft Word equivalent. You can get it for free on your Mac from the App Store. Here are multiple ways to raise or lower characters inside the Pages app on Mac.
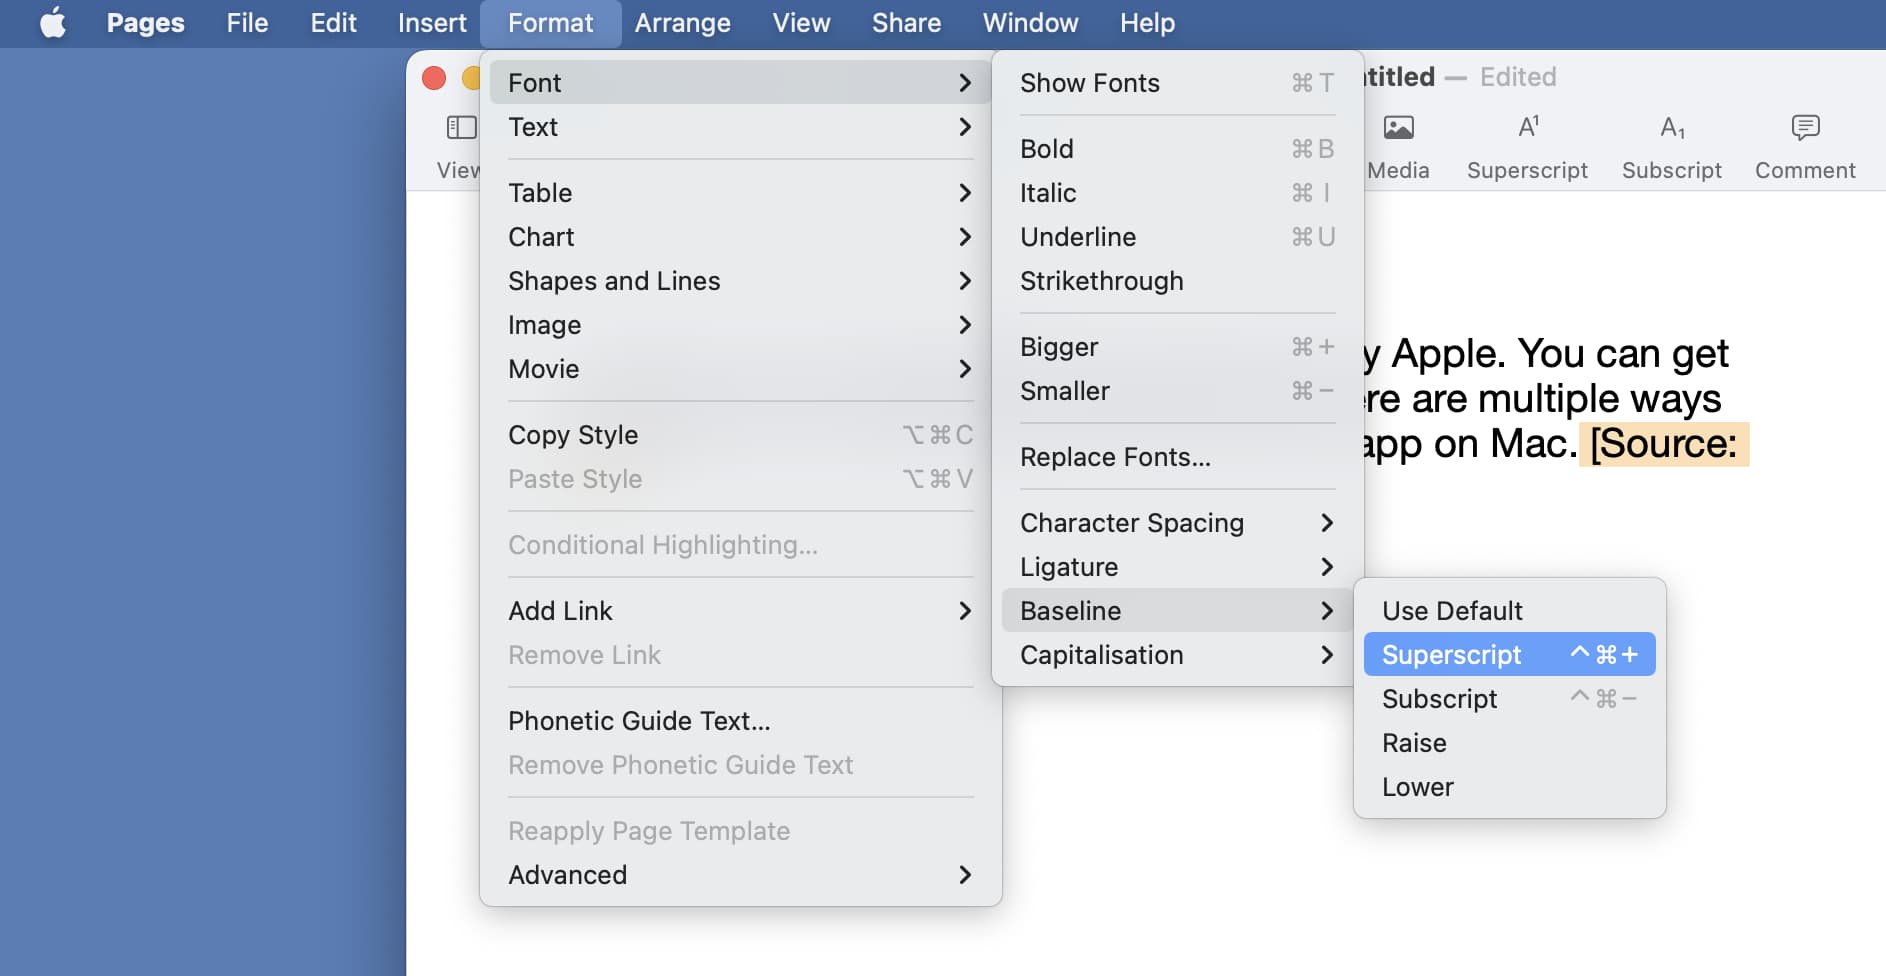
- Open the Pages app document and select the character, words, or sentence.
- From the top menu bar, click Format > Font > Baseline and choose Superscript to raise the selected text or Subscript to lower the selected text.
To return to regular typing, click next to the raised or lowered character and type something. Now, select it, follow the above initial steps, and choose Use Default instead of Superscript or Subscript.
Use the keyboard shortcut
Select the desired text or character and then:
- Press Control + Shift + Command + + (plus sign key) to add a superscript.
- Press Control + Command + - (minus sign key) to add a subscript.
Use advanced text options
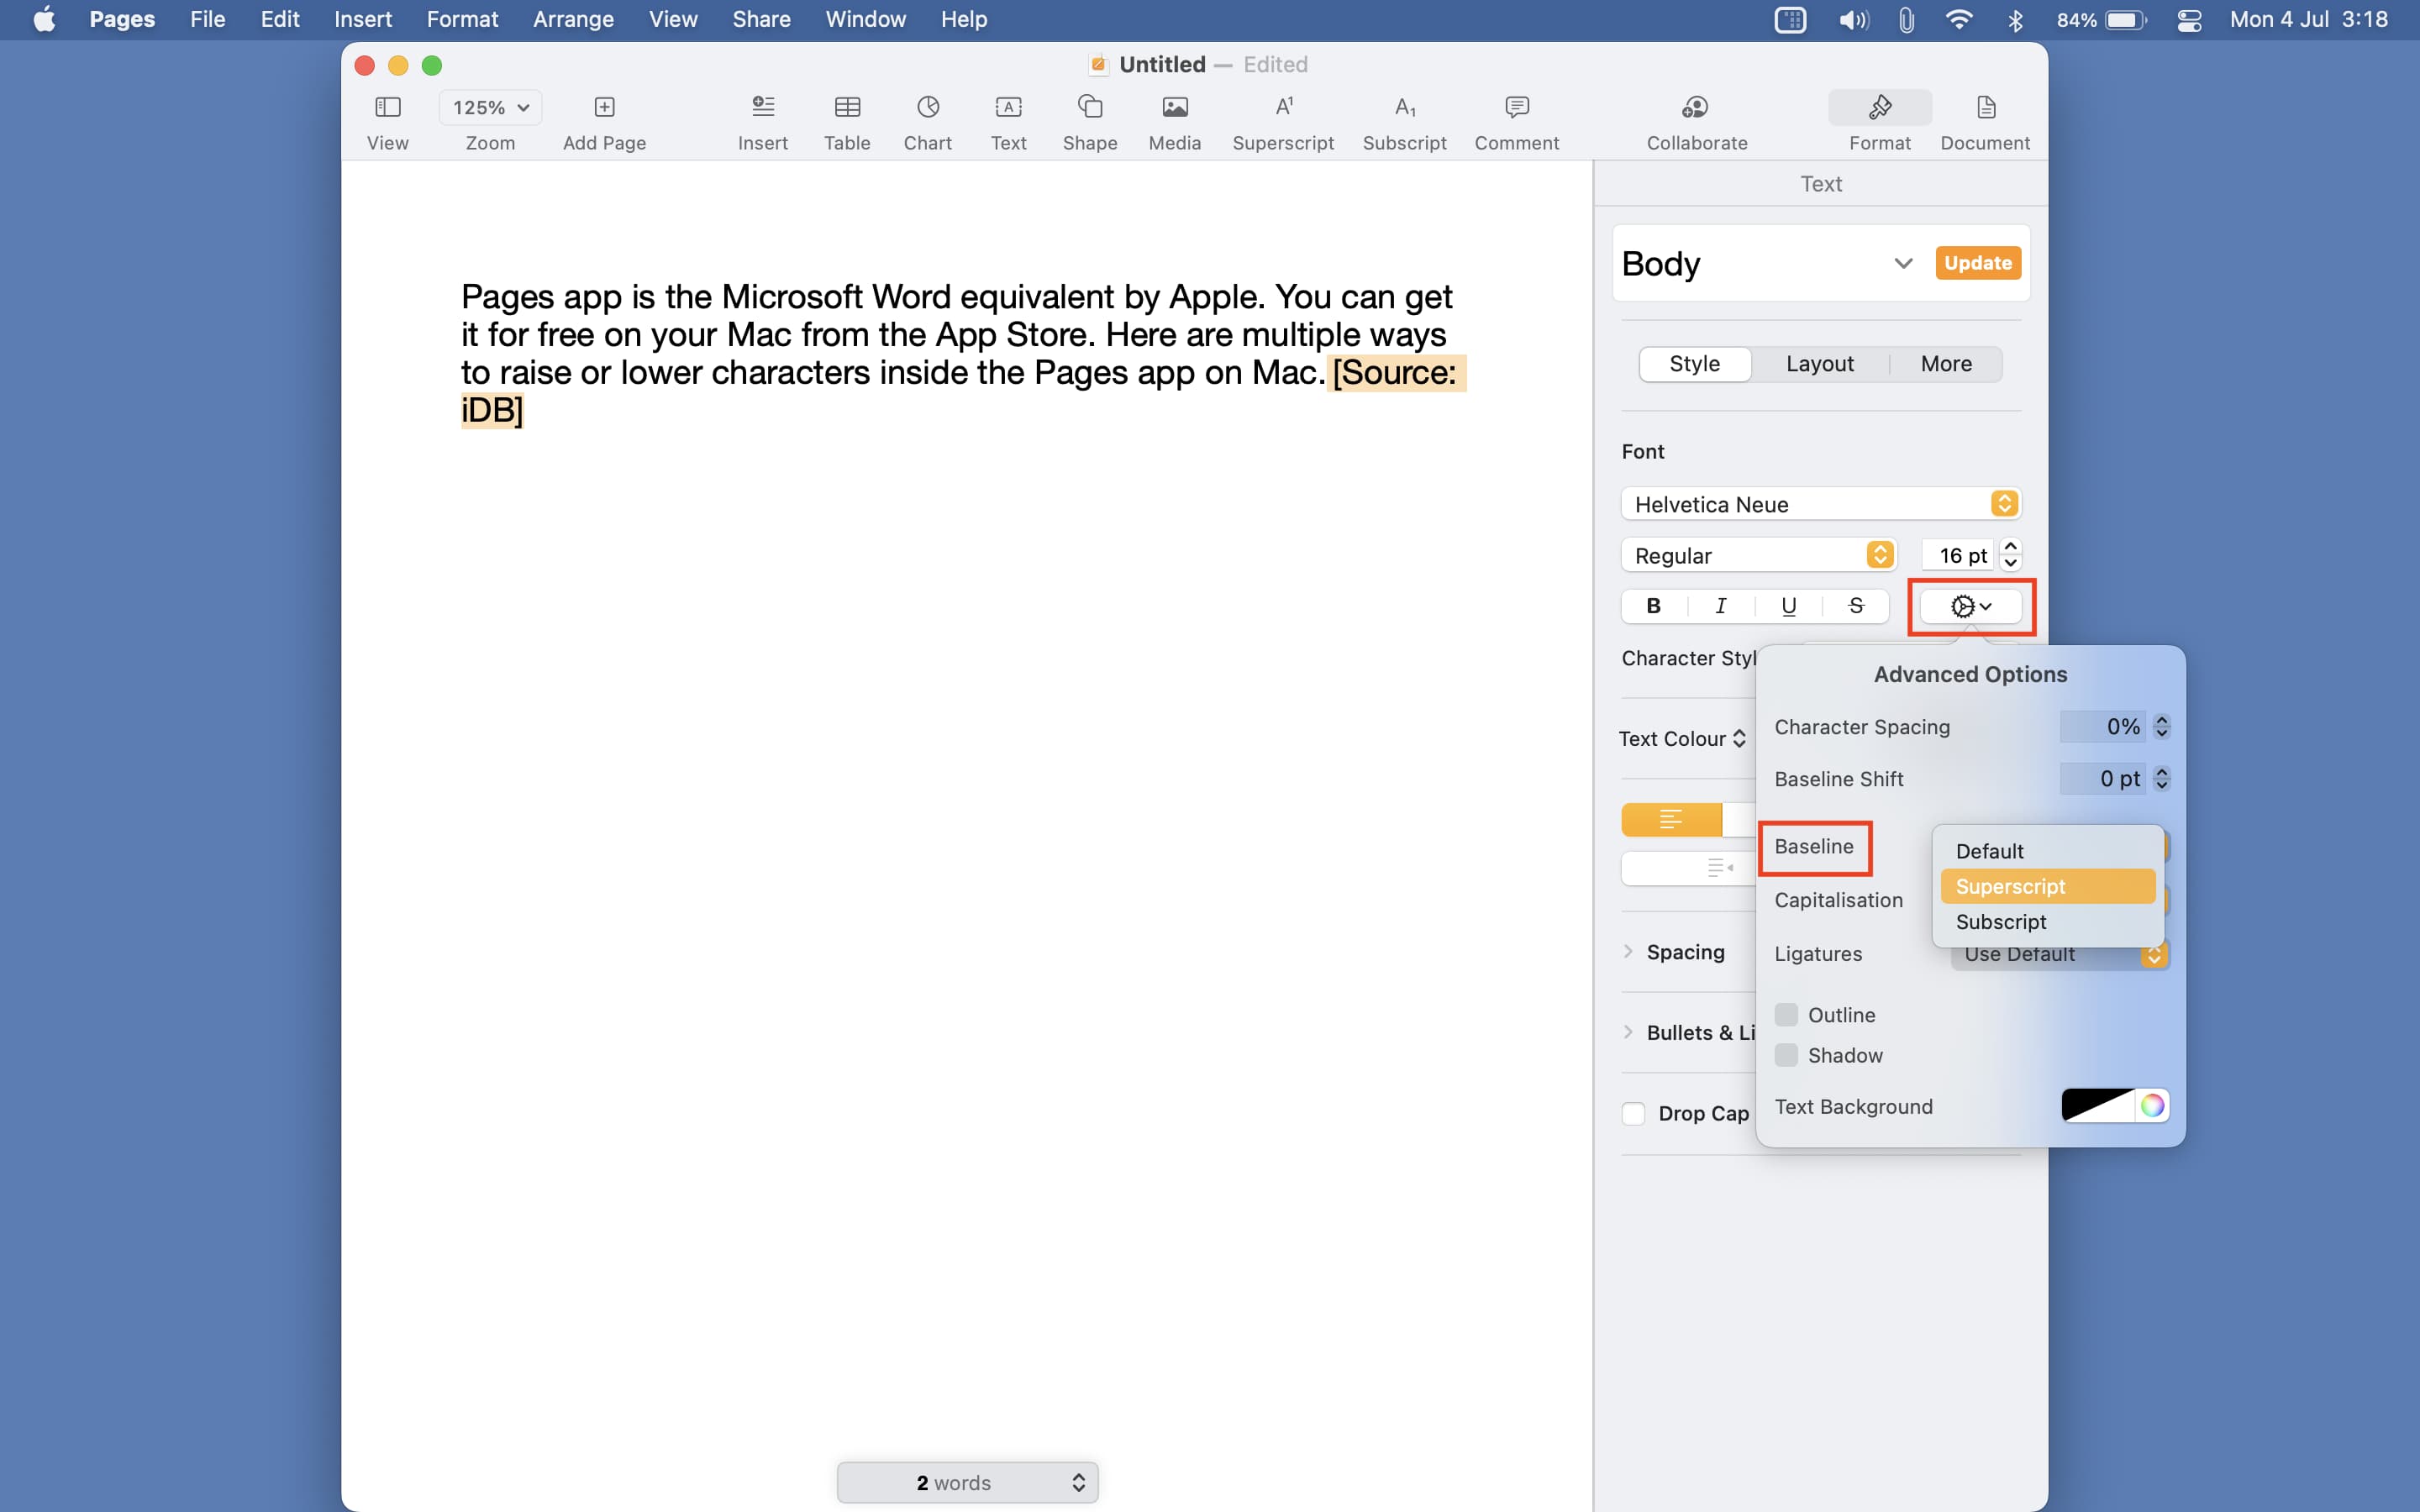
- Select the desired text that you want to raise or lower.
- Click Format from the top right of the Pages app.
- Select the settings icon.
- Choose the dropdown menu next to Baseline and select Superscript or Subscript.
Add superscript and subscript shortcut to the toolbar
If you’re someone who uses these formatting styles a lot, I recommend adding the superscript and subscript buttons to the Pages toolbar, which is always visible. Here’s how to do that:
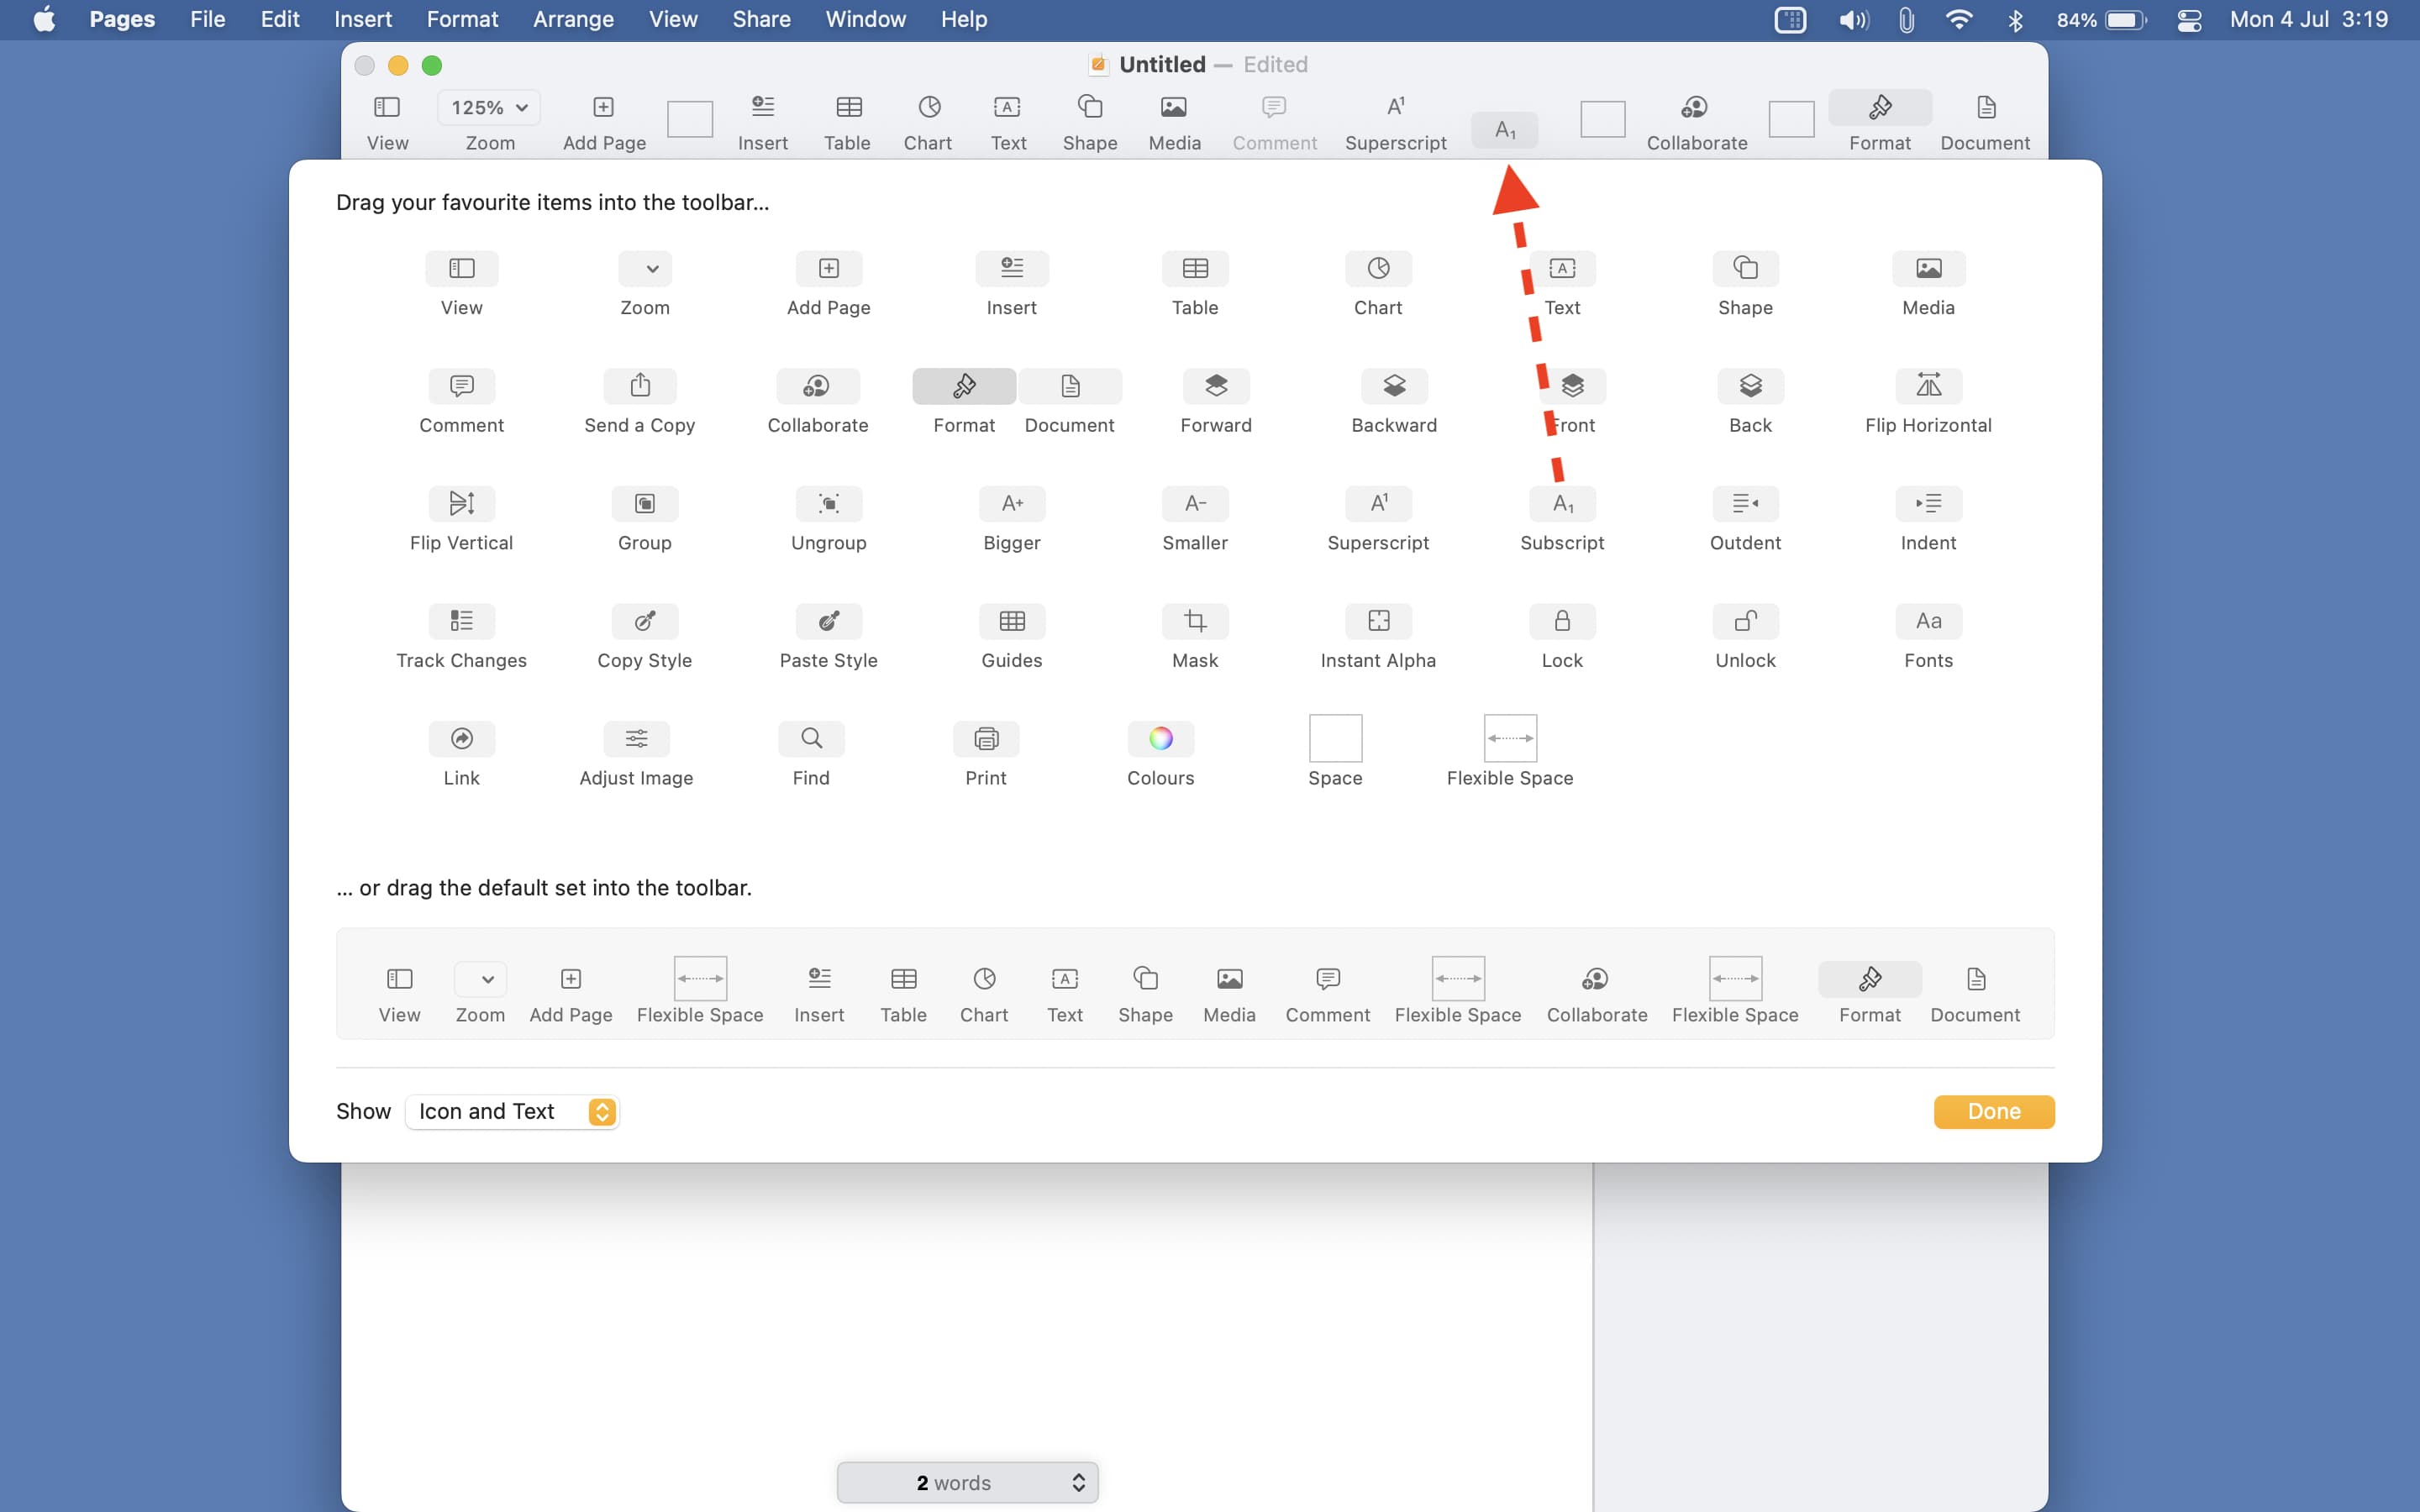
- Open a Pages document and click View > Customize Toolbar from the top menu bar.
- Drag the Superscript and/or Subscript button up to the Pages toolbar.
- Finally, click Done.
From now on, simply select the text and click the superscript or subscript button from the Pages toolbar.
Let Pages do it automatically
Writing 1st, 2nd, 3rd or 1st, 2nd, 3rd are both acceptable styles. But if you or your organization prefers the latter, you can set the Pages app to automatically superscript numerical suffixes. Here’s how:
- Open Pages and press the Command + , (comma) keys to go to its settings. You can also click Pages > Settings or Preferences from the top menu bar.
- Click Auto-correction.
- Check the box for Superscript numerical suffixes.
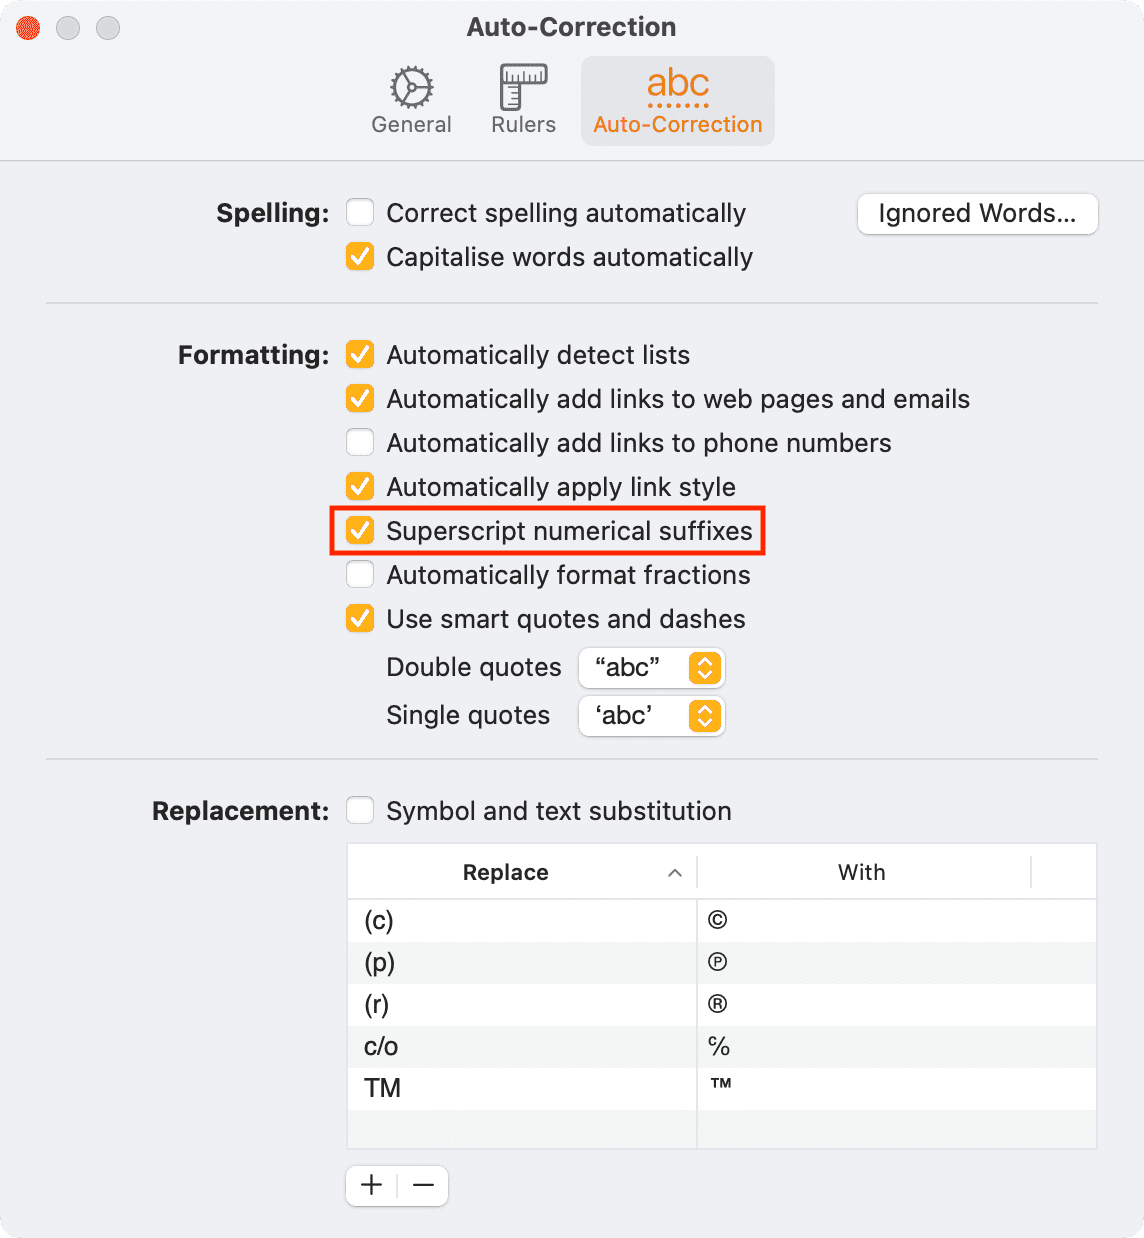
From now on, whenever you type a number followed by its correct suffix (like 1st, 2nd, 3rd, 10th, 100th, and so on), the Pages app will automatically format it by raising the suffix.
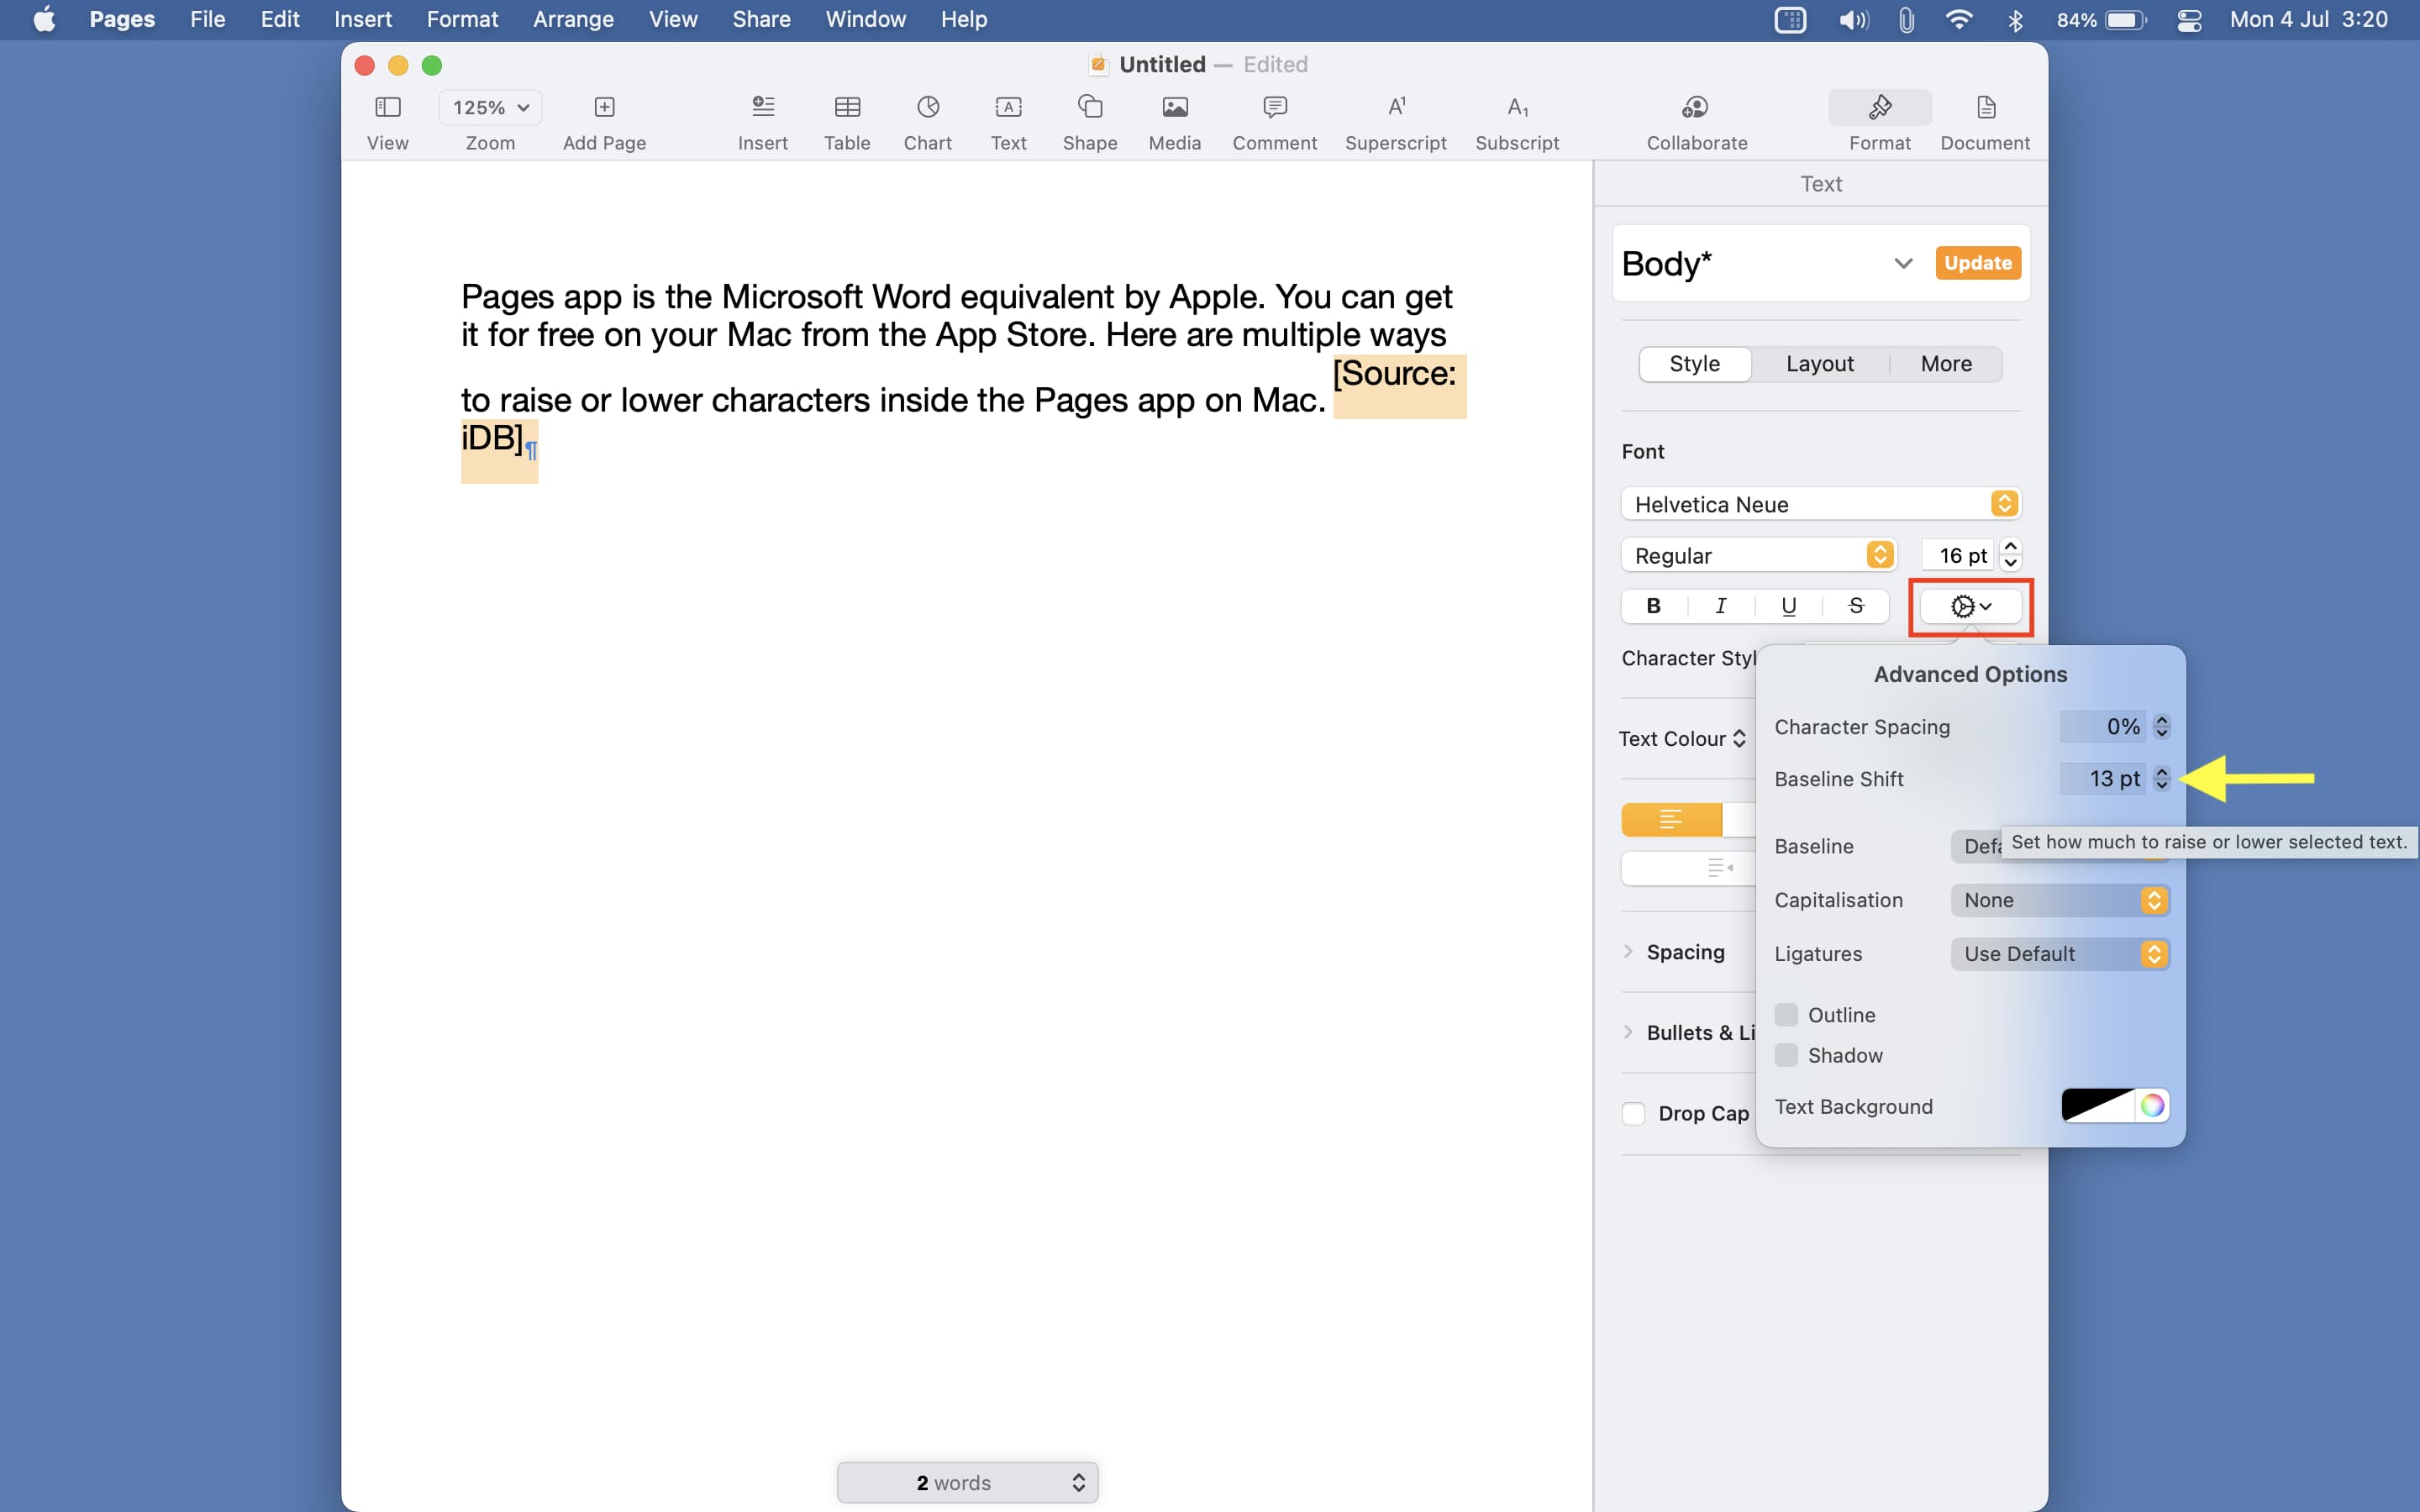
Adjust its baseline shift
With the above methods, the size of the text that’s superscripted or subscripted becomes smaller. But what if you want to keep it the same size?
Follow these steps to raise or lower the text without changing the size:
- Select the desired text in Pages.
- Select Format from the top right of the Pages app.
- Choose the settings icon.
- Click the up or down arrows next to Baseline Shift to raise or lower the selected text without changing its size.
In the Notes app
The macOS Notes app also supports superscripts and subscripts. Here’s how to use these formatting styles:
- Select the text.
- Control-click or right-click and choose Font > Baseline > Superscript or Subscript.
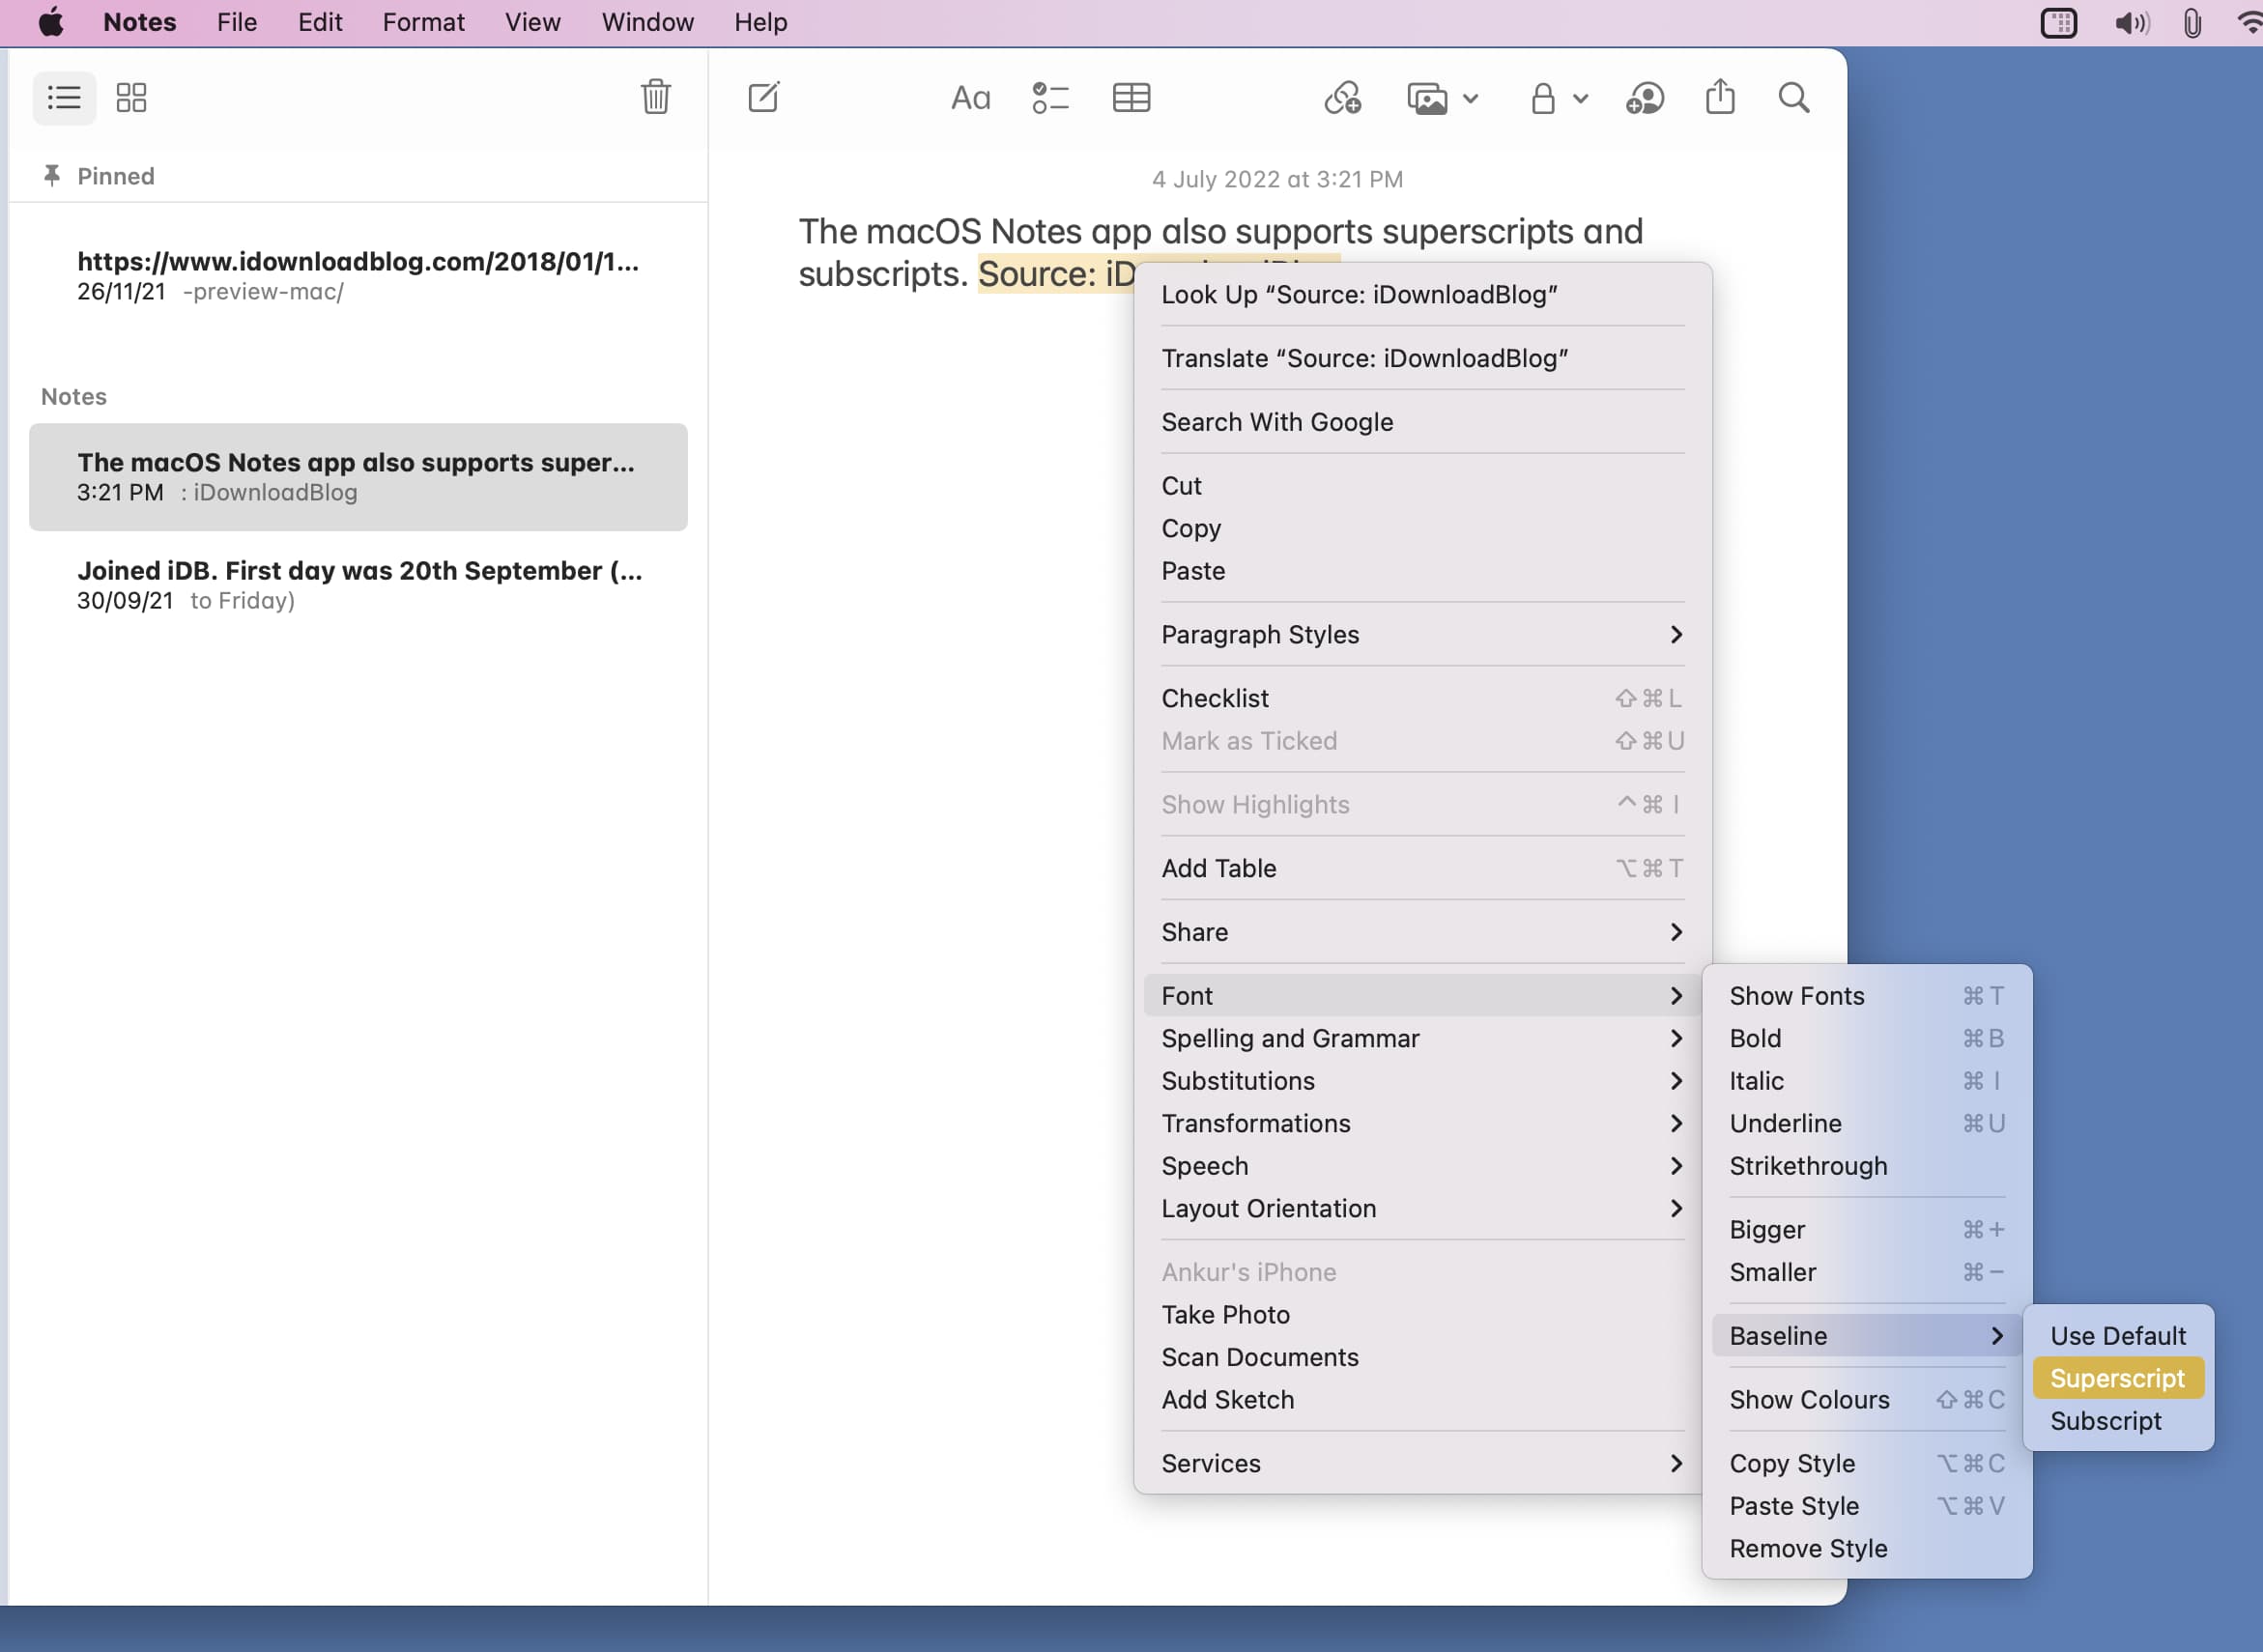
To type in normal letters, follow the above steps and choose Use Default.
You can also select a text and from the top menu bar, click Format > Font > Baseline > Superscript or Subscript.
In WordPress
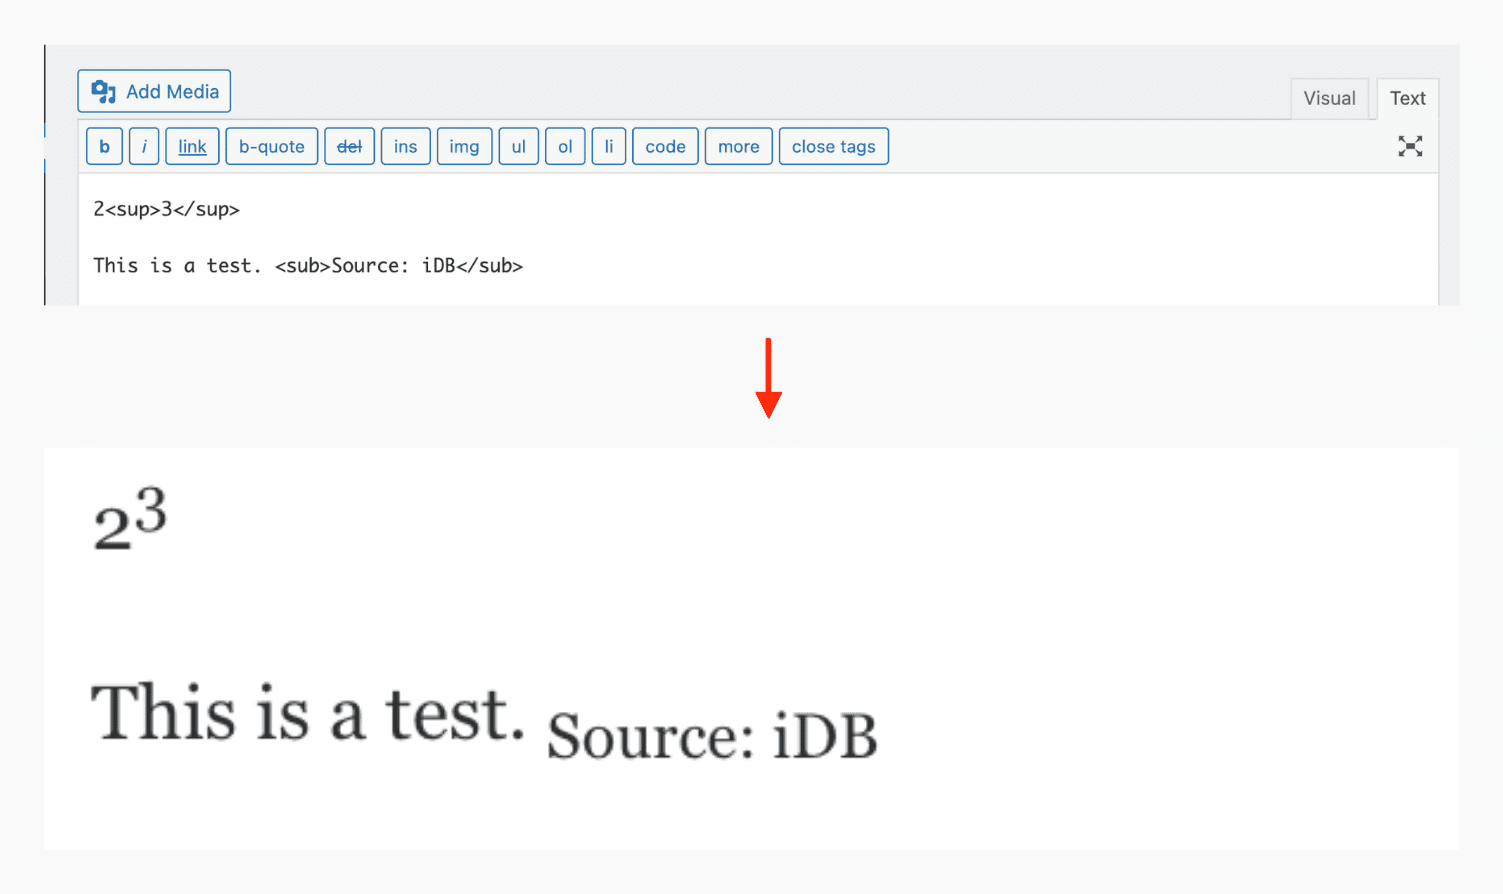
Do the following to raise or lower the characters inside WordPress:
- Go to HTML/Code/Text view.
- To add a superscript, use <sup>Your Text</sup>
- To add a subscript, use <sub>Your Text</sub>
In Google Docs
Many text editors, like Google Docs, have their own option to format text as superscript and subscript.
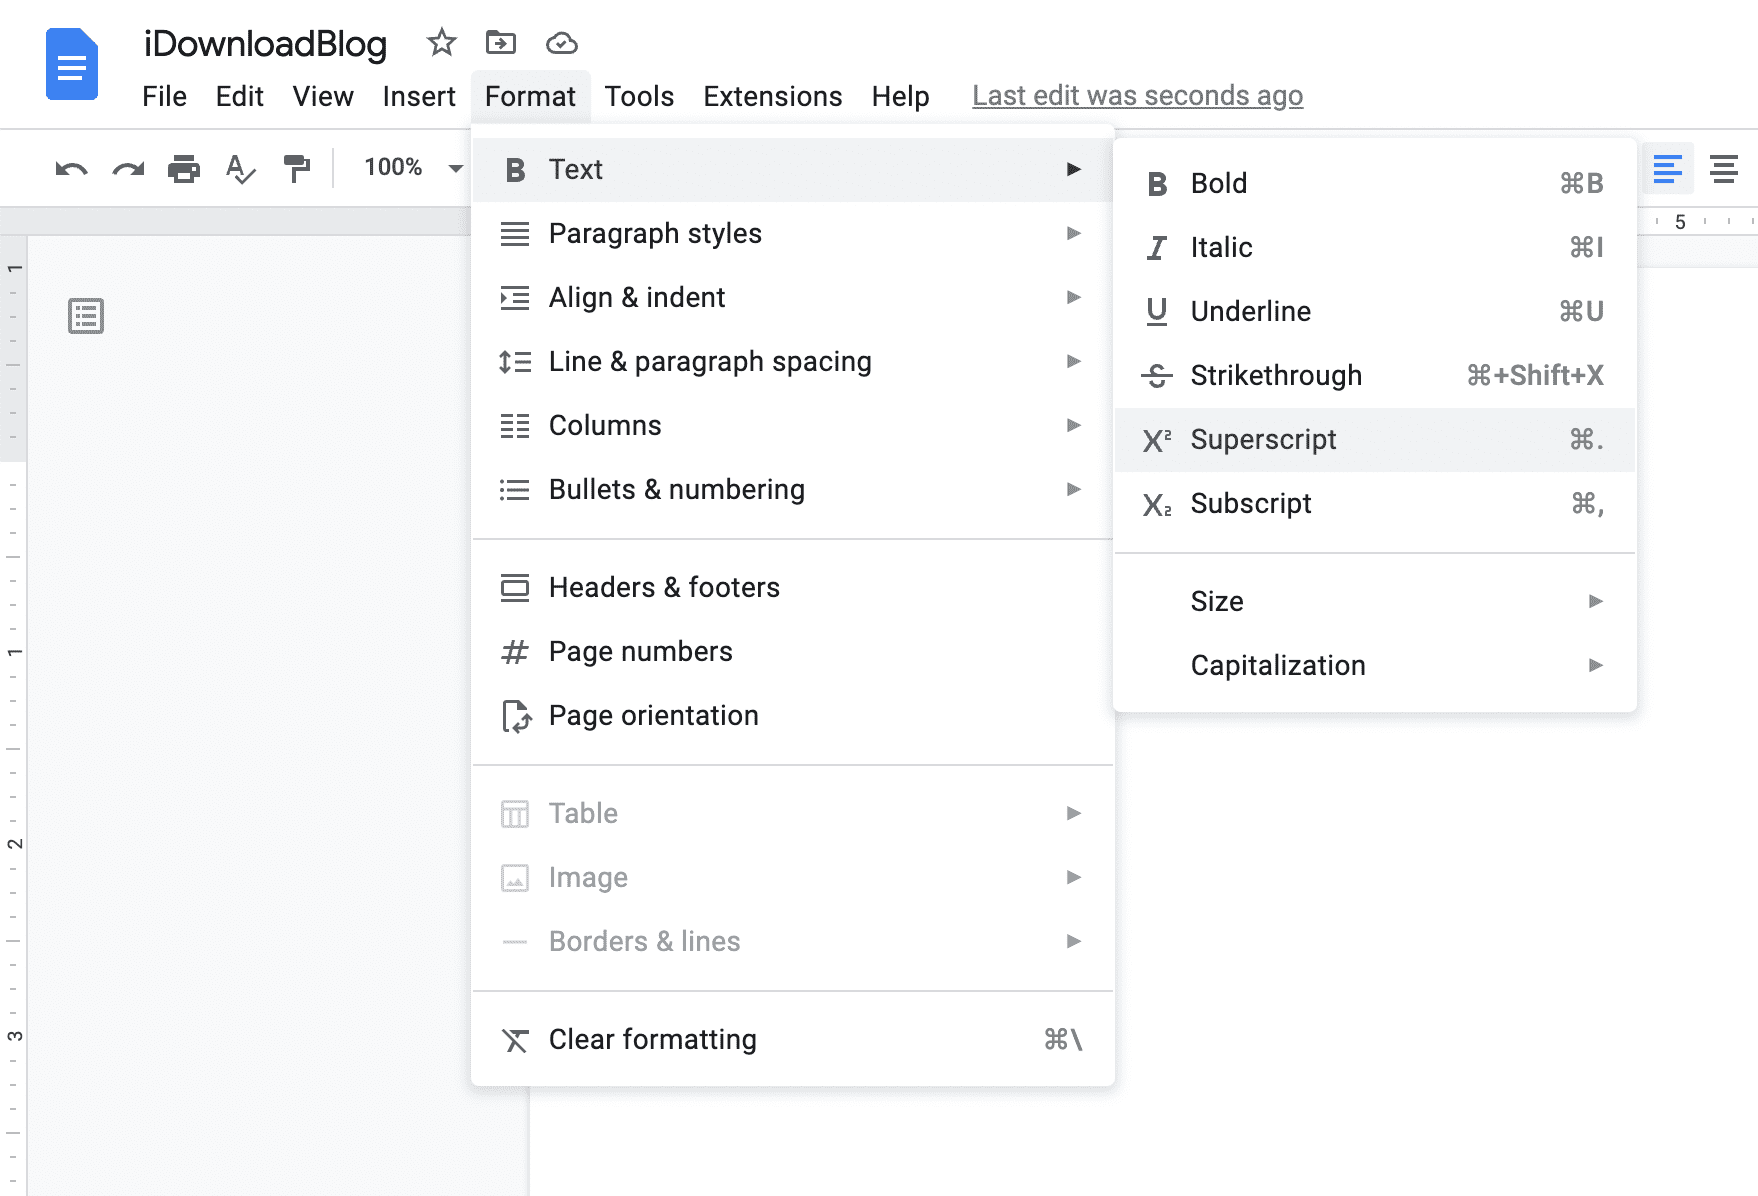
In Google Docs, select the text and click Format > Text > Superscript or Subscript.
You can also select the text and press Command + . (full stop) keys to raise it or Command + , (comma key) to lower it.
Use superscript or subscript in other apps
Many text editors offer easy ways to raise or lower characters. However, if one doesn’t, you can superscript or subscript the text inside the Notes app or the Pages app, then copy it from here and paste it inside other Mac app. As long as that app doesn’t automatically remove formatting, the pasted text should keep the formatting intact.
Related tips: